
Rain, snow, sun exposure, and heavy foot traffic all conspire to break down the wood fibers over time. If you want your outdoor space to look great and last for years, learning how to seal a deck properly, step by step, is a skill worth mastering.
A well-maintained deck protects the natural beauty of your wood decking while shielding it from moisture damage and UV rays. The good news? With the right approach and a little patience, you can tackle this deck staining project yourself and save some serious money in the process.
Why Sealing Your Deck Matters
Wood is constantly exposed to harsh weather conditions. Without protection, water soaks into the wood grain, causing swelling, cracking, and eventually rot. Sun damage breaks down the natural wood grain, turning beautiful lumber gray and splintered.
Deck sealant creates a protective barrier that repels water and blocks UV protection from degrading your decking material. When water beads up on the surface instead of soaking in, you know your deck remains protected.
According to the U.S. Forest Service’s Forest Products Laboratory, properly sealed wood can last significantly longer than untreated wood in outdoor applications. Regular maintenance can extend the life of pressure-treated lumber and other wood decking by decades.
What You’ll Need Before Starting
| Category | Items |
| Cleaning | Quality deck cleaner, pressure washer or power washer, garden hose, stiff brush |
| Application | Deck sealer or deck stains, paint roller, garden sprayer, drop cloths or plastic sheeting |
| Protection | Painter’s tape, safety glasses, gloves |
| Prep | Sandpaper for rough spots |
Choosing the Right Sealant
You have options when it comes to protecting your deck surface. Here’s what you need to know:
Clear stain or transparent sealers let the natural wood grain shine through while offering water repellent protection. They’re perfect if you love the look of your wood.
Semi-transparent stains add a hint of color while still showing off the wood grain underneath. They offer better protection against sun damage than clear options.
Solid stain completely covering the wood gives maximum protection and hides imperfections, though it masks the natural beauty of the wood entirely.
For most homeowners with a new deck or pressure-treated wood, semi-transparent options strike the best balance between protection and aesthetics.
Step-by-Step Guide to Sealing Your Deck
Step 1: Pick Your Weather Window
Timing matters more than you might think. You need at least 48 hours of dry weather with temperatures between 50°F and 90°F. Low humidity helps the deck dry completely between coats.
Avoid the rainy season and harsh winters. Check the forecast carefully before starting.
Step 2: Clear and Clean the Deck Surface
Remove all furniture, planters, and anything else on your deck. Sweep away loose debris with a broom. Cover nearby plants with plastic sheeting to protect them from cleaning solutions.
Apply a quality deck cleaner following the manufacturer’s instructions. Most cleaners need to sit for 10-15 minutes to break down dirt, mildew growth, and old sealant.
Step 3: Power Wash the Right Way
A pressure washer makes quick work of cleaning, but use caution. Set it to a low setting (around 500-600 PSI for soft woods, up to 1200 PSI for harder woods). Hold the nozzle about 12 inches from the deck surface and work with the wood grain.
Don’t have a power washer? A garden hose with a stiff brush works too; it just takes more elbow grease.
Let the deck dry completely. This usually takes 48-72 hours, depending on weather conditions. The wood must be completely dry or you’ll trap moisture underneath the sealant, which creates air bubbles and leads to peeling.
Step 4: Sand and Prep
Walk the entire deck looking for rough spots, splinters, or damaged boards. Sand these areas smooth, working with the wood grain. Wipe away dust with a damp cloth and let it dry.
Use painter’s tape to protect areas where you don’t want sealant, like the house siding or metal railings.
Step 5: Test Your Sealant
Before committing to the entire deck, test your chosen sealer on a small, inconspicuous spot. This lets you see the final color and make sure you like how it looks. Put a few drops of water on the test area after it dries. If water beads up, the sealant is working.
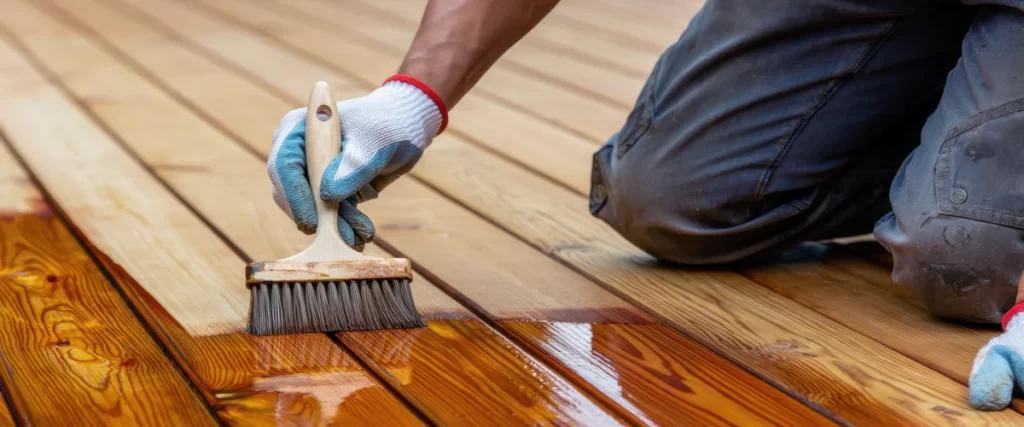
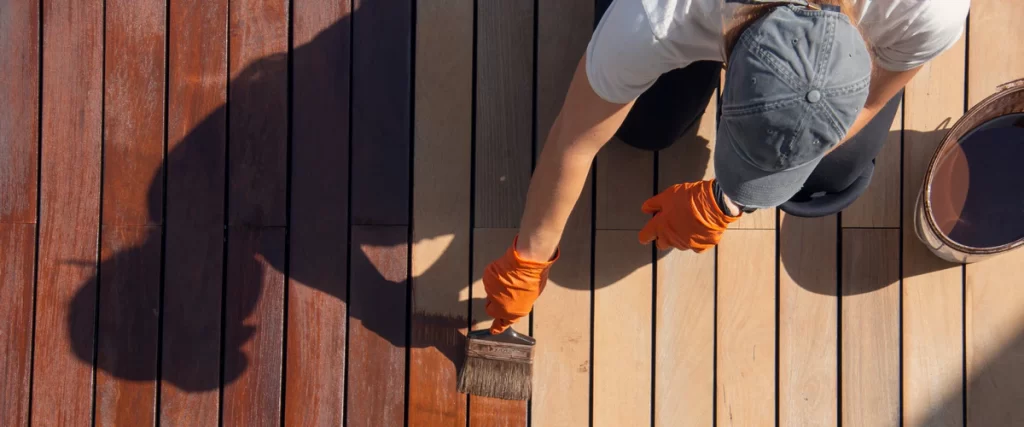
Step 6: Apply the First Coat
Start at the far end of the deck and work backward toward the exit. You don’t want to paint yourself into a corner.
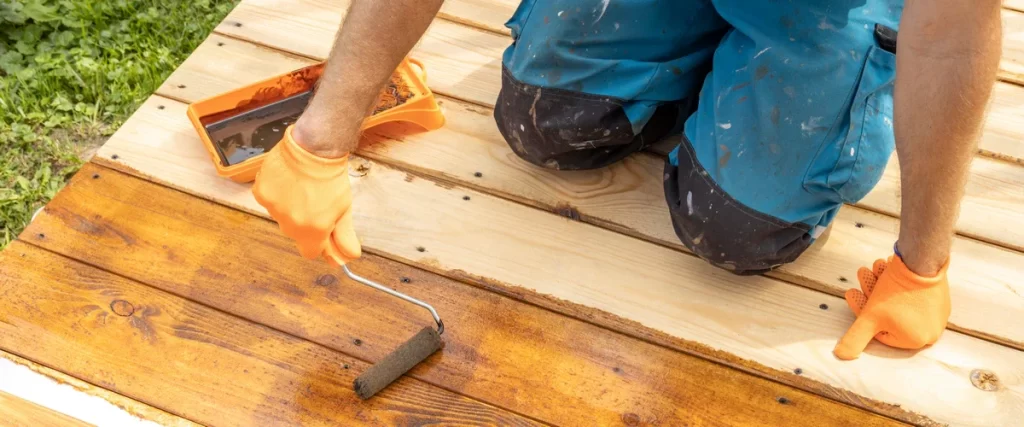
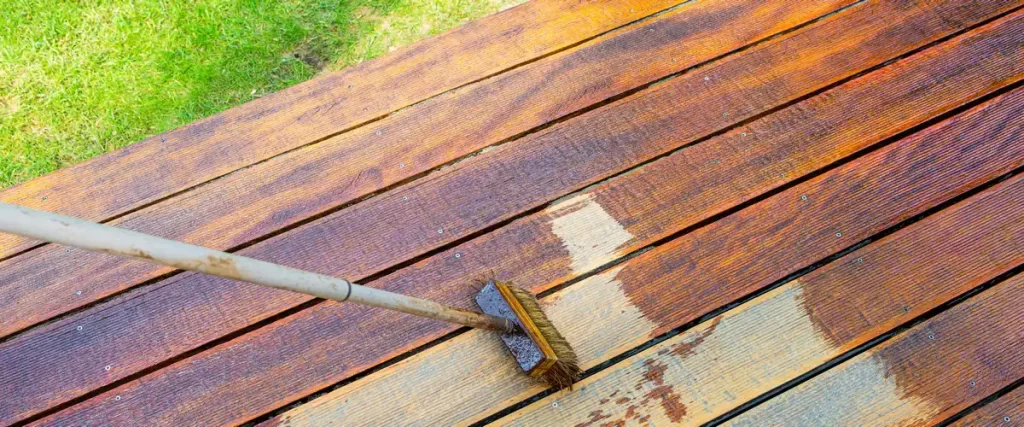
For large flat areas, use a paint roller or garden sprayer to apply thin, even coats. Work in manageable sections of about 3-4 boards at a time. For railings and detailed areas, a brush works better.
Apply stain moving with the wood grain, never against it. This prevents lap marks and ensures an even finish. Don’t oversaturate the wood. Thin coats are better than thick ones, they dry faster and look better.
Watch for drips and wipe them immediately. Air bubbles indicate you’ve applied too much product, so back off and spread it thinner.
Step 7: Let It Dry and Assess
Most deck stains need 24-48 hours before you can walk on them. Check the manufacturer’s instructions for exact drying times. The deck should be dry to the touch before considering a second coat.
Inspect your work in natural light. Look for missed spots, uneven finish, or areas that absorbed more sealant than others (this happens with older wood that has varying porosity).
Step 8: Apply a Second Coat (If Needed)
Older decks or those in harsh weather areas often benefit from a second coat for better protection. Wait the recommended time between coats.
Apply the second coat the same way as the first, working with the grain in thin layers. Less is more.
Step 9: Final Cure and Foot Traffic
Even though the deck feels dry after a day or two, the sealant needs more time to fully cure. Keep foot traffic to a minimum for at least 72 hours. Wait a full week before replacing furniture or allowing heavy foot traffic.
Common Mistakes to Avoid
Rushing the drying process between steps ruins the finish. Patience pays off. Applying sealant in direct sun or on hot wood causes it to dry too fast, creating an uneven finish and preventing proper absorption.
Skipping the cleaning step means you’re sealing in dirt and mildew. That’s a recipe for failure. Using too much sealant creates a thick film that cracks and peels instead of soaking into the wood fibers.
Maintaining Your Sealed Deck
Regular maintenance keeps your deck in great shape. Sweep it weekly to remove debris. Clean spills promptly. Inspect the deck twice a year for areas where the sealant has worn away, especially in high-traffic zones.
Most decks need resealing every 2-3 years, though this varies based on climate, sun exposure, and foot traffic. If water soaks into the wood instead of beading up, it’s time to reseal.
Frequently Asked Questions
How long does deck sealer last? Typically 2-3 years, though darker shades and solid stains may last longer than clear or semi-transparent options. Harsh weather and heavy foot traffic reduce longevity.
Can I seal a new deck immediately? Pressure-treated wood needs time to dry and weather before sealing, usually 3-6 months. The wood needs to release treatment chemicals and stabilize first.
What’s the difference between stain and sealer? Sealers protect without adding much color. Stains add pigment while also protecting. Many products combine both functions.
Can I apply sealant over old sealant? Only if the old sealant is in good condition. If it’s peeling or flaking, you must strip it first for proper adhesion.
Is spring or fall better for sealing? Both work well. Spring preparation protects against summer sun damage, while fall sealing prepares the deck for harsh winters. Choose based on your climate and schedule.
Let the Professionals Handle It
Reading through all these steps, you might be thinking this sounds like a lot of work. You’re right. Between the cleaning, drying, sanding, and multiple coats, a deck staining project easily eats up an entire weekend or more.
If you’d rather spend that time enjoying your outdoor space instead of working on it, we understand. At Fiferum Construction, we handle deck sealing projects every day. We know which products work best for different wood types, how to get a uniform finish without lap marks, and how to spot potential problems before they become expensive repairs.
Want to learn more about how we can help with your deck staining needs? Call us at (919) 638-0986 or message us here for a free consultation. Sometimes the DIY route makes sense. Other times, calling in professionals saves you time and hassle, and gives you peace of mind knowing the job is done right.